How to add an Application
Adding an application to your tenant is a straightforward process. Only Tenant Admins have the authority to add applications. If you’re not a Tenant Admin, please contact the admin to add an app for you. Verify your permissions on the Users page of the tenant.
Note
To learn more about permissions, check out Role-Based Access Control.
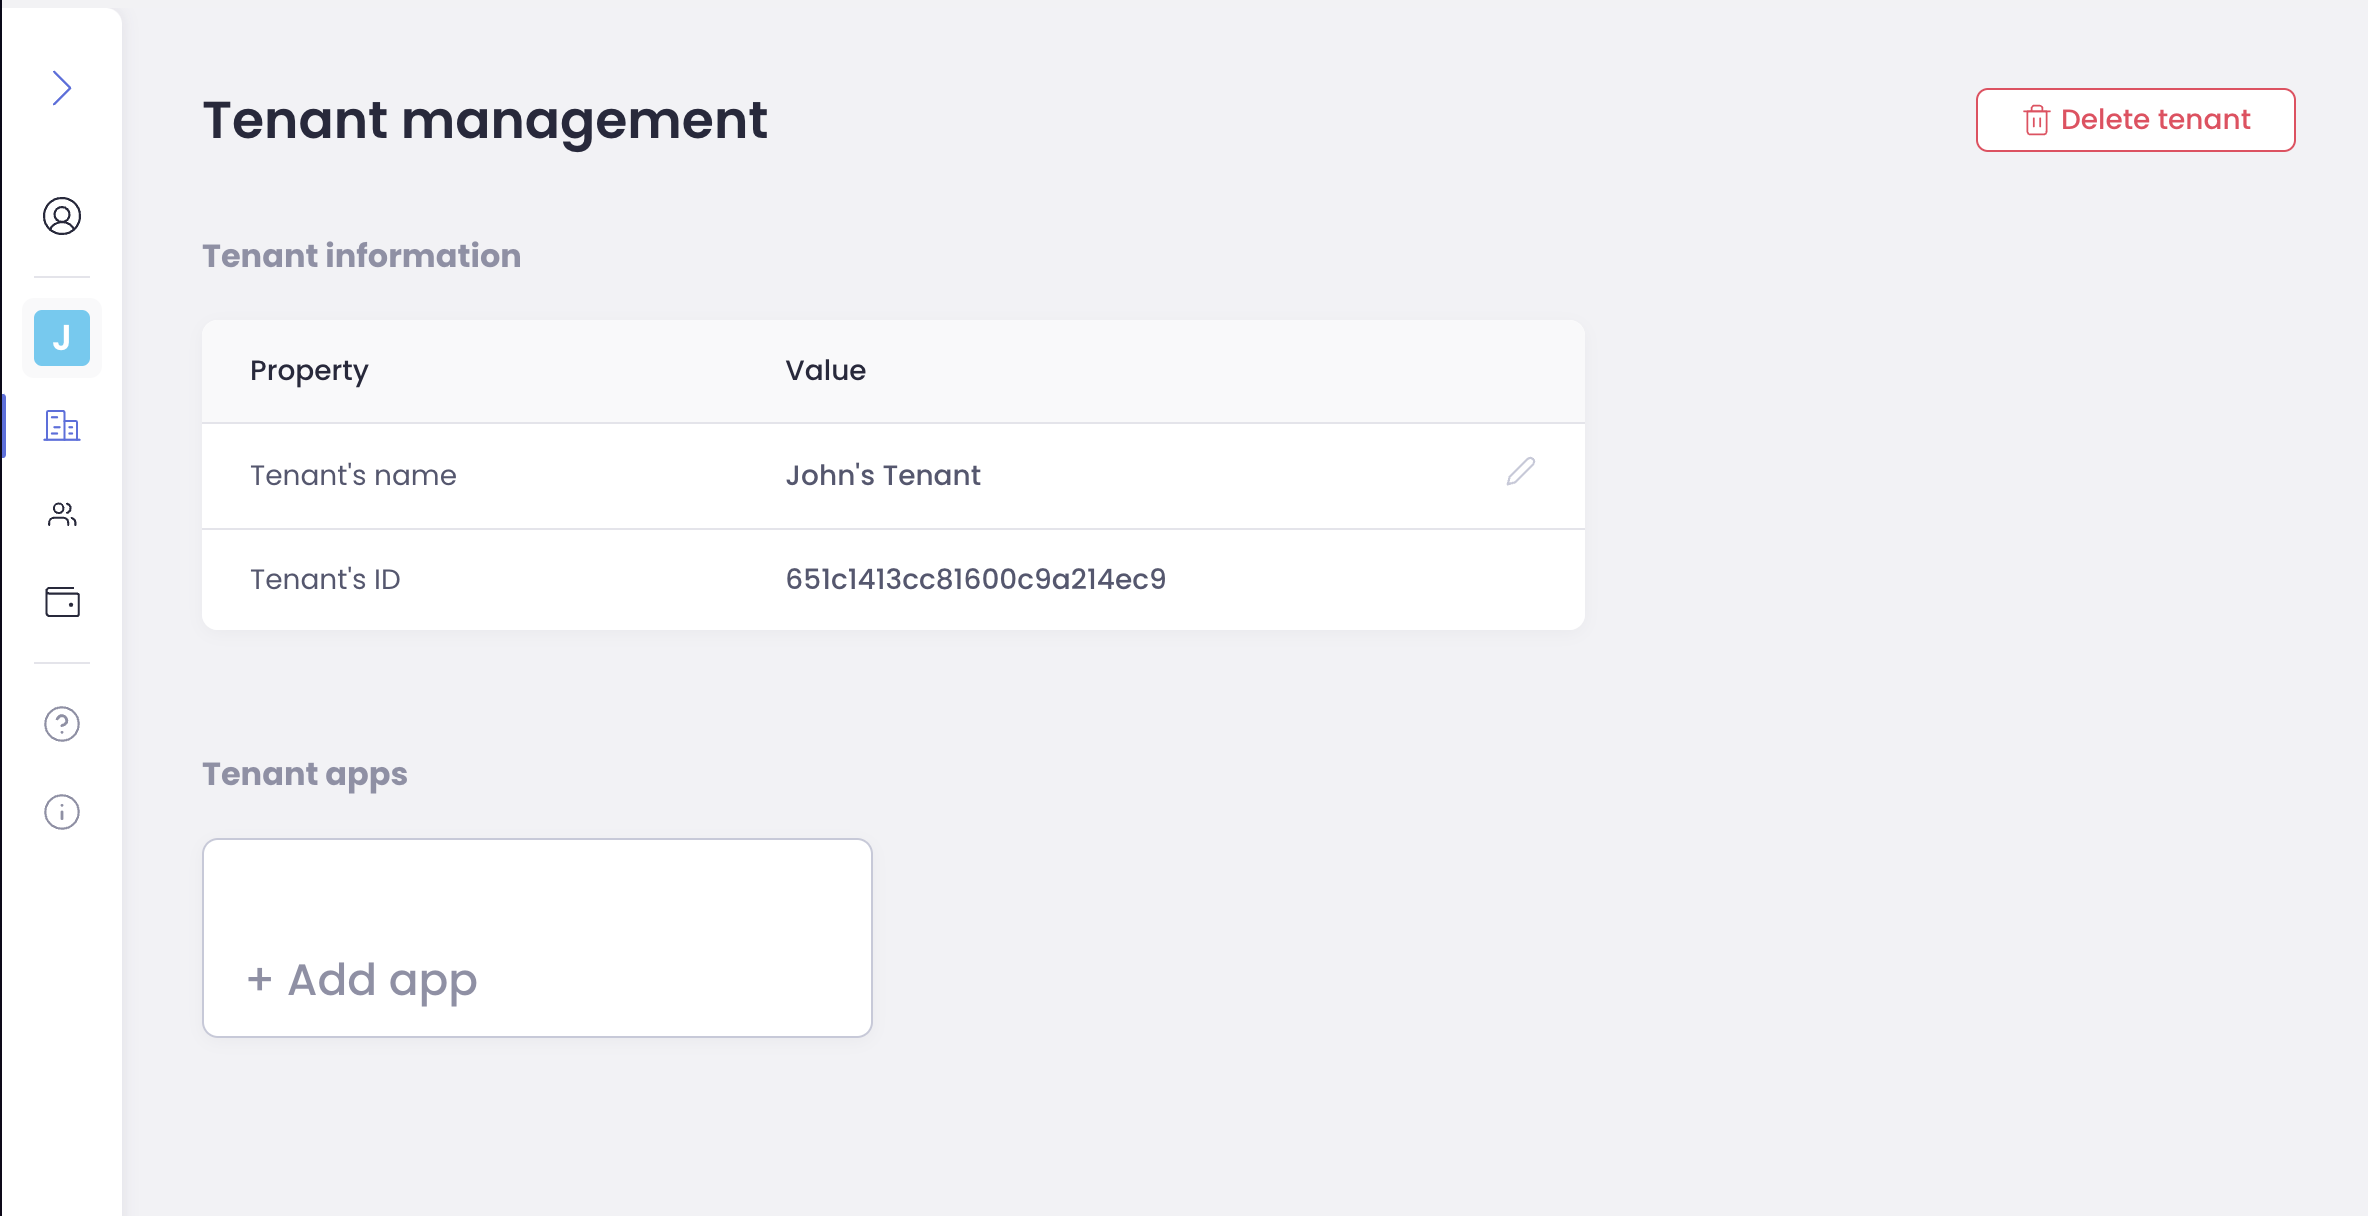
Navigate to the Tenant Management Page: Start by logging into your Orchestra Identity account at account.cthings.co. Once logged in, proceed to the Tenant Management page using the navigation bar on the left of the page.
Access the Tenant Apps Section: Locate the “Tenant Apps” section and click the “+ Add App” button.
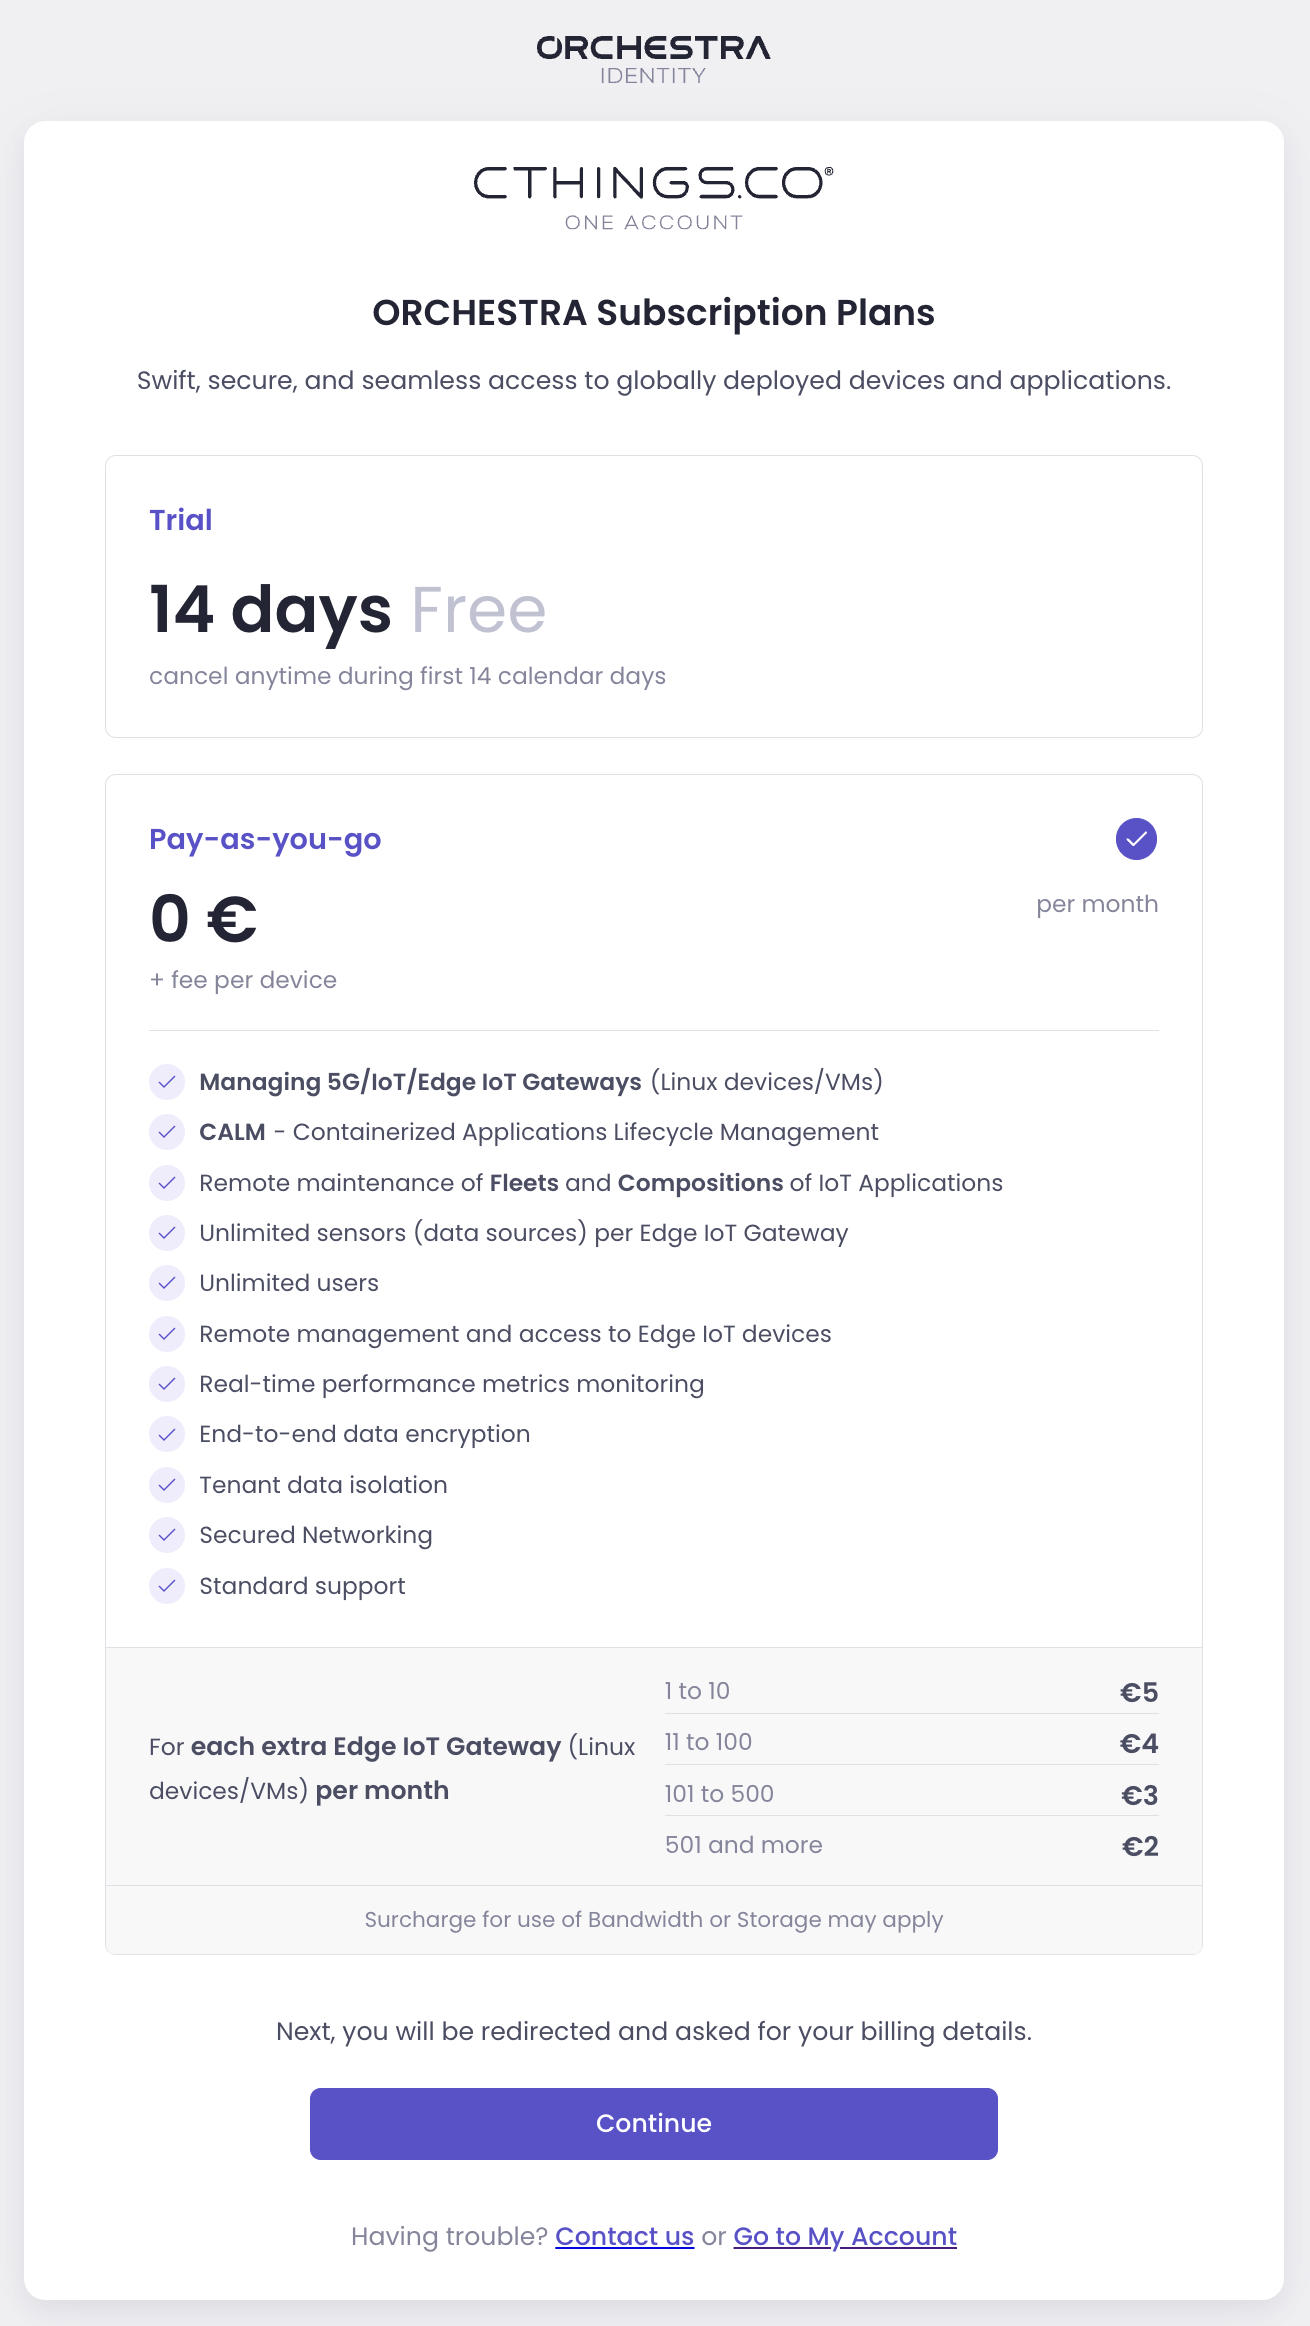
Choose the Subscription Plan: Pick the appropriate subscription plan.
Note
If you’re unfamiliar with how subscriptions work, refer to the Orchestra Subscription Management Guide.
Provide Billing Information: Enter your basic billing information. Afterward, you will be seamlessly redirected to our payment provider Stripe to finalize billing details.
Payment Method: Enter your payment method securely through our partner Stripe. Rest assured, your sensitive information is handled with the utmost security.
Return to CTHINGS.CO: Once you’ve completed the steps, return to CTHINGS.CO.
Continue to the App: Now, seamlessly continue to use the added application.

This user-friendly guide ensures a smooth process for adding applications to your tenant. If you encounter any issues or have questions, don’t hesitate to reach out for assistance.