Create a Fleet
This tutorial guides you through creating a fleet in Orchestra’s web application.
Note
If you prefer using the command line, see Containerised Application Lifecycle Management.
Navigate to Fleets:
Open the Orchestra web application.
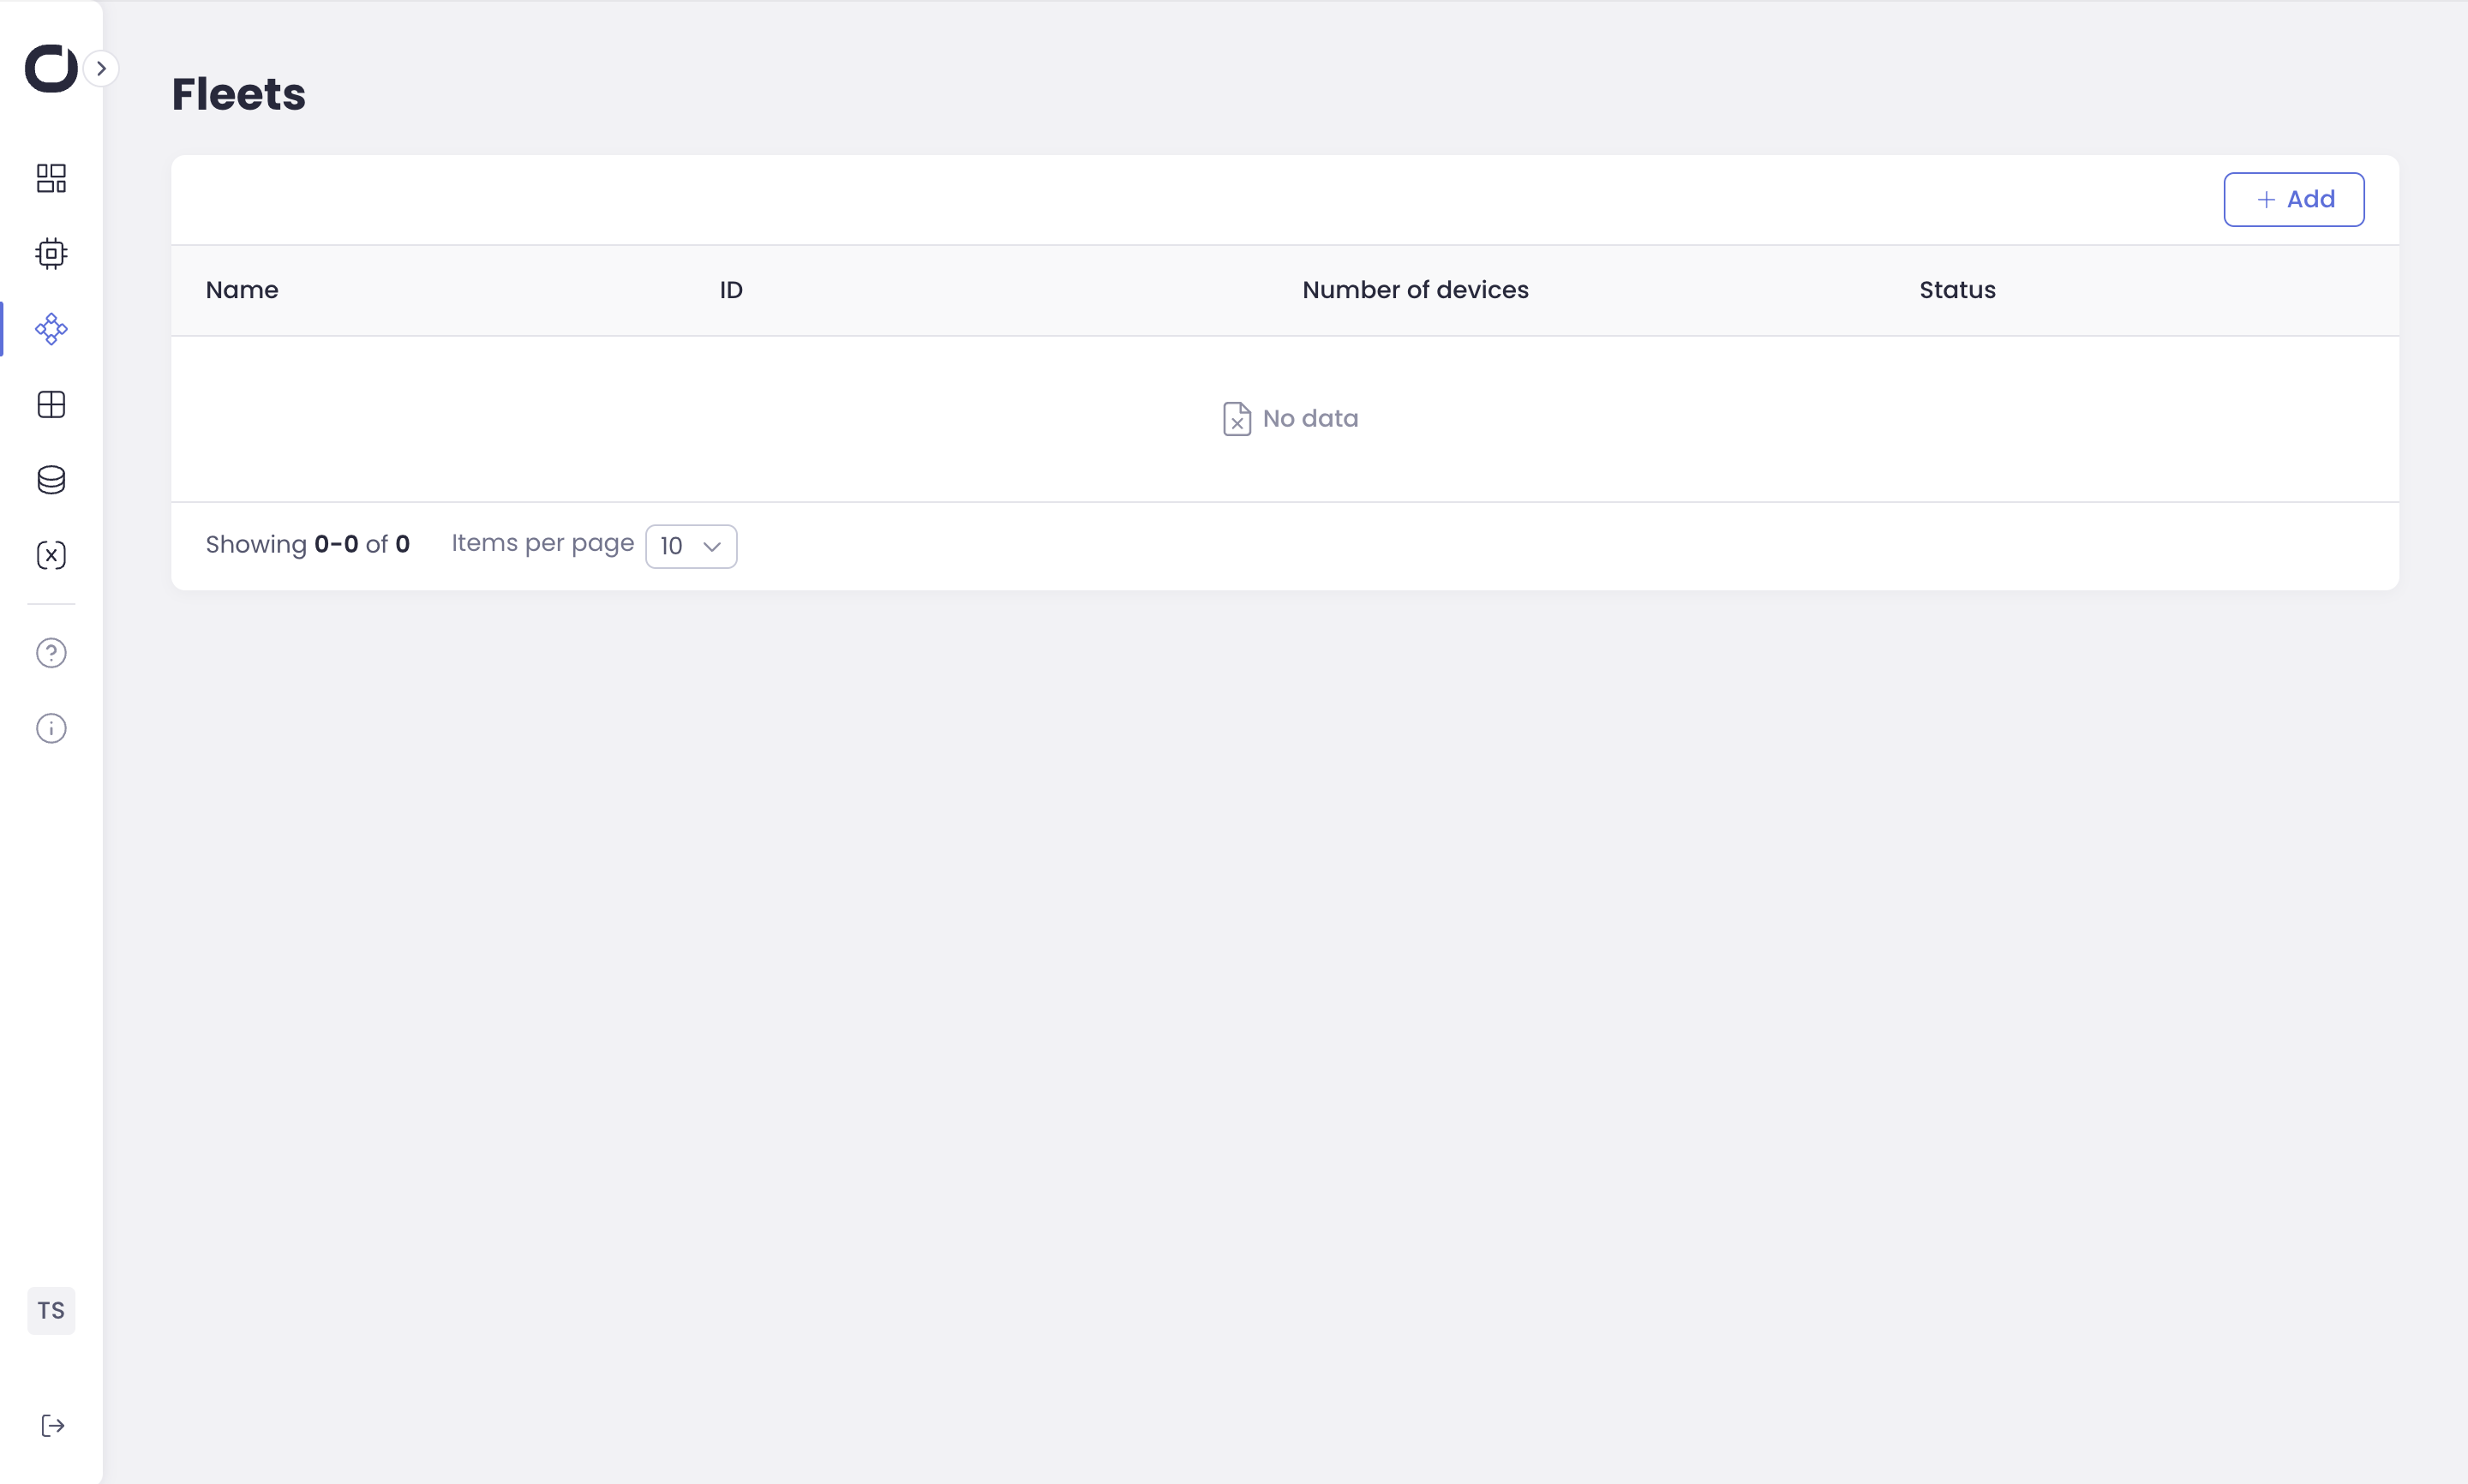
Use the sidebar to navigate to the Fleets page.
If you haven’t created any fleets yet, the page will look like this:
Create a New Fleet:
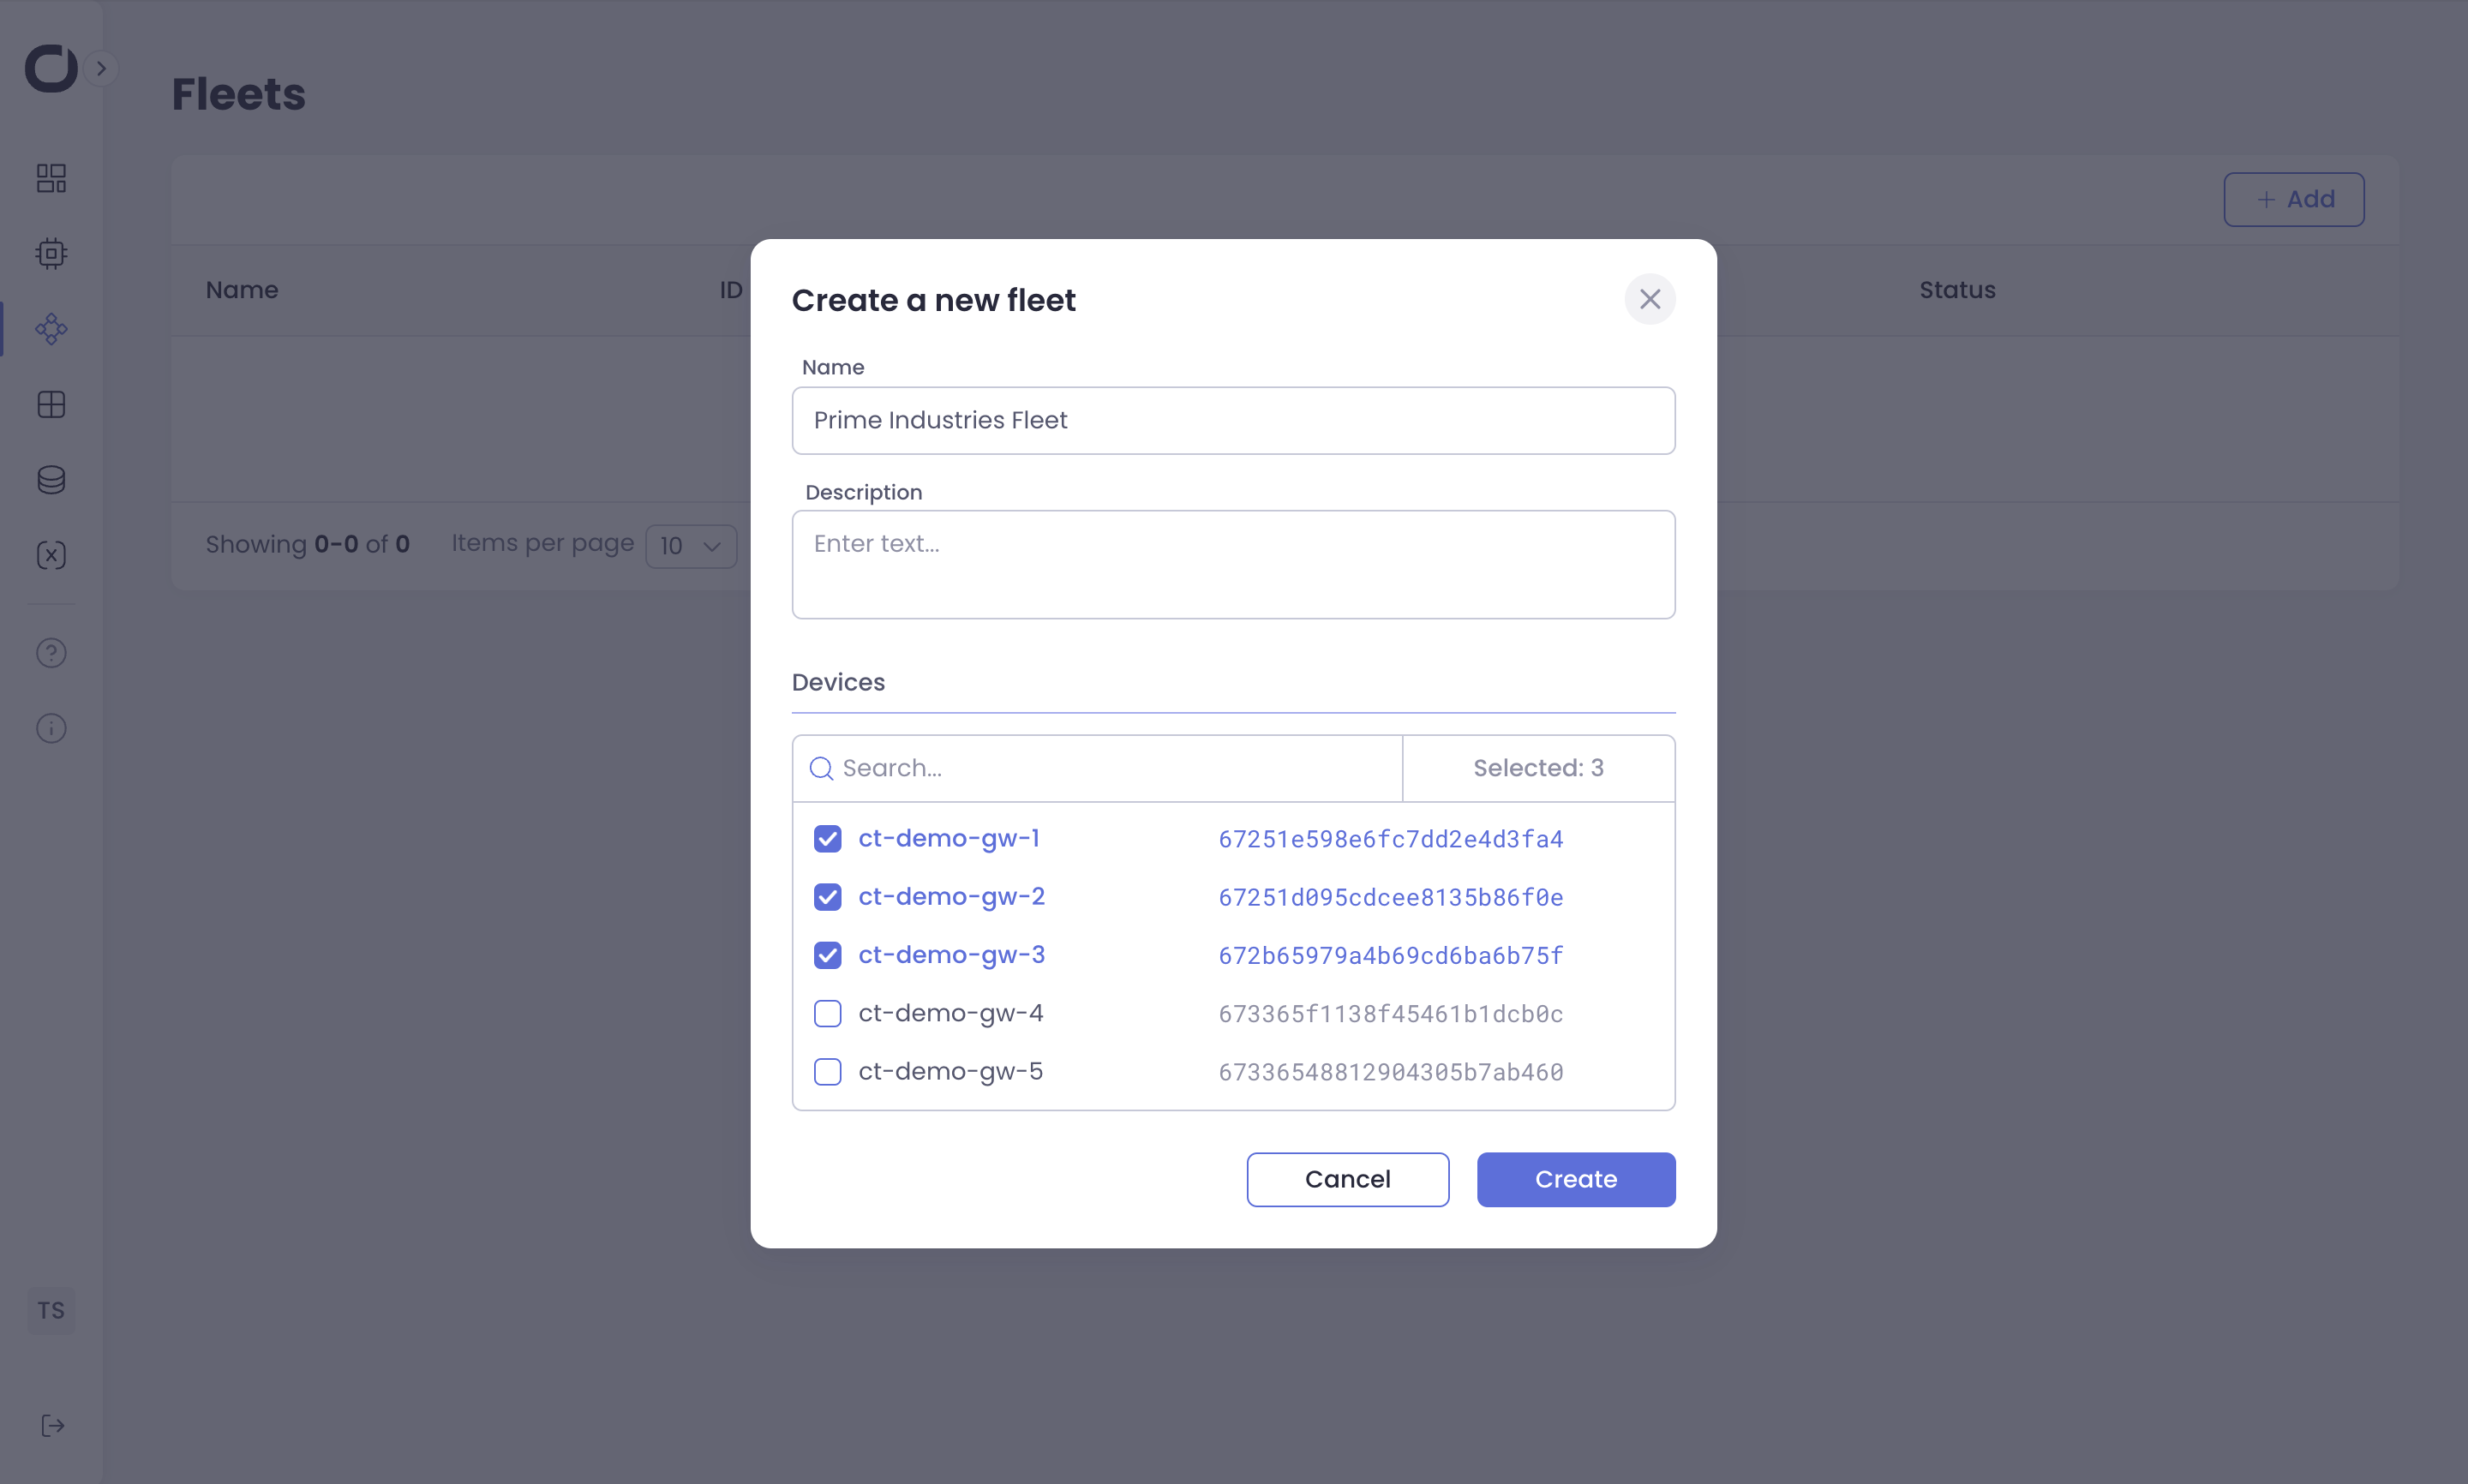
Click the Add button in the top right corner.
A “Create a new fleet” dialog will appear.
Configure Fleet Details:
Name: Enter a clear and descriptive name for your fleet.
Description (Optional): Provide a brief description to help you remember the fleet’s purpose.
Select Devices: Choose the devices you want to include in this fleet. You can select multiple devices.
Save Your Fleet:
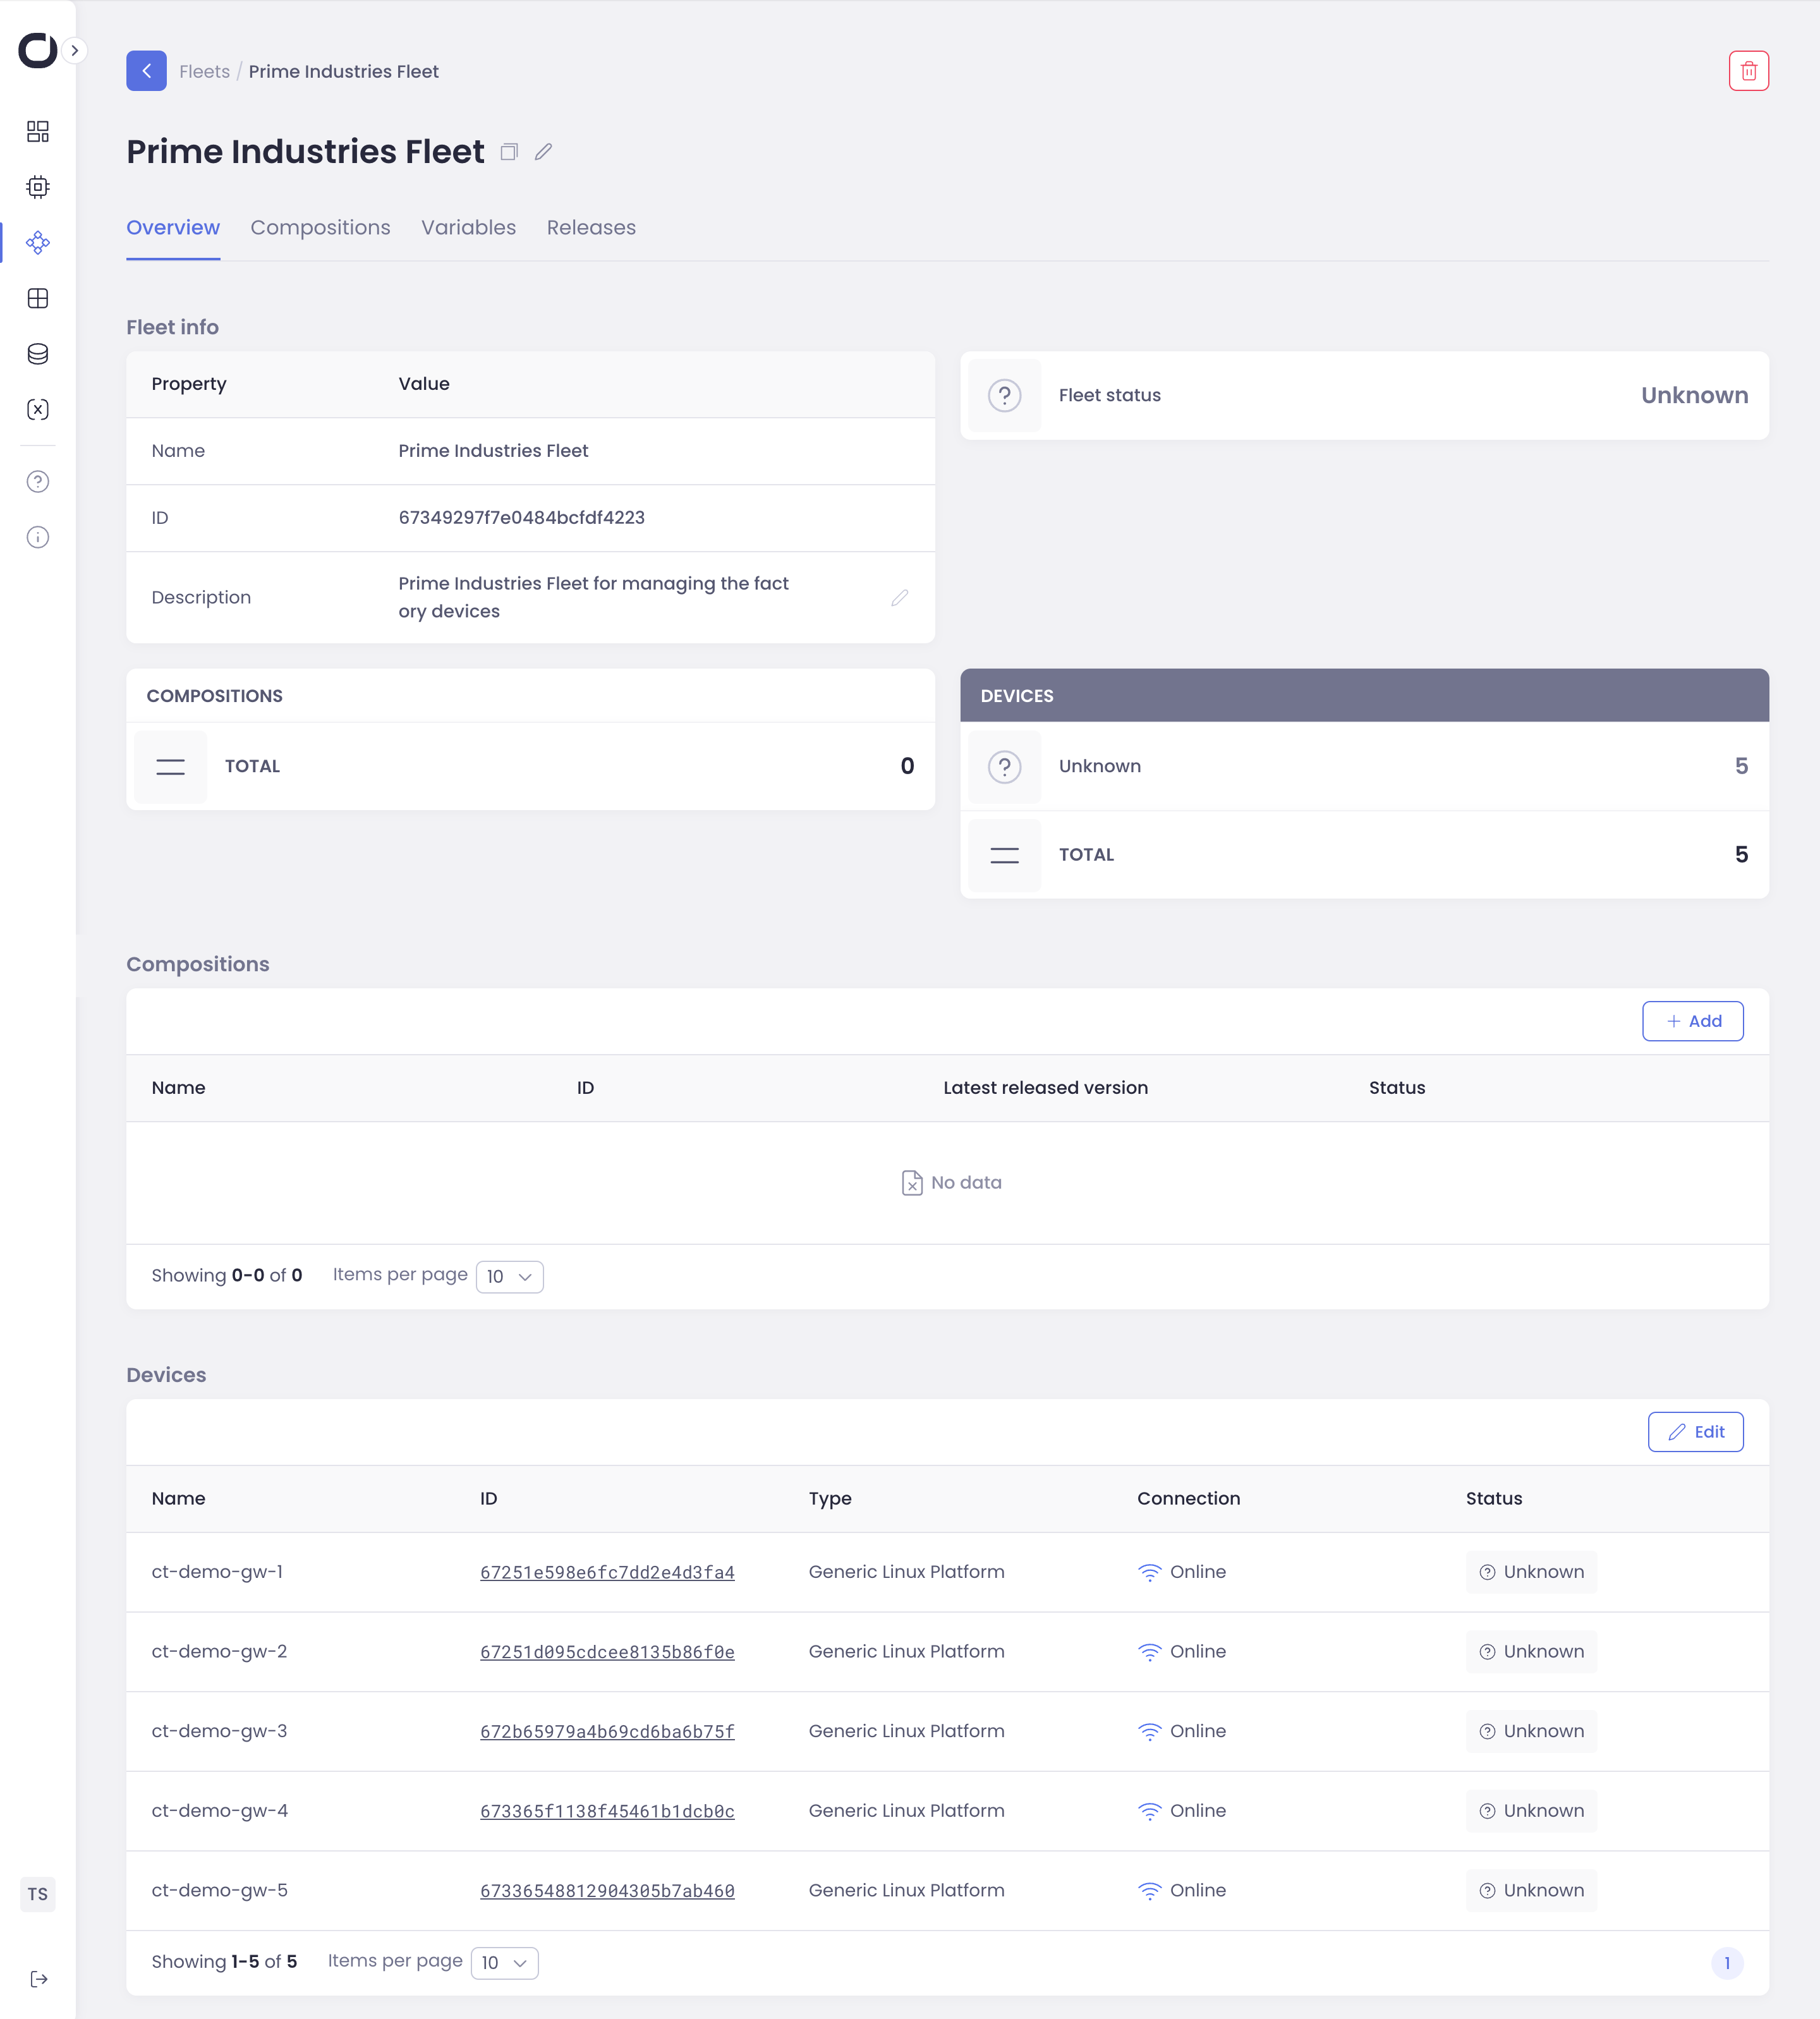
Click Create to save your new fleet.
You’ll see your newly created fleet listed. You can view the devices you’ve added and their connection status.
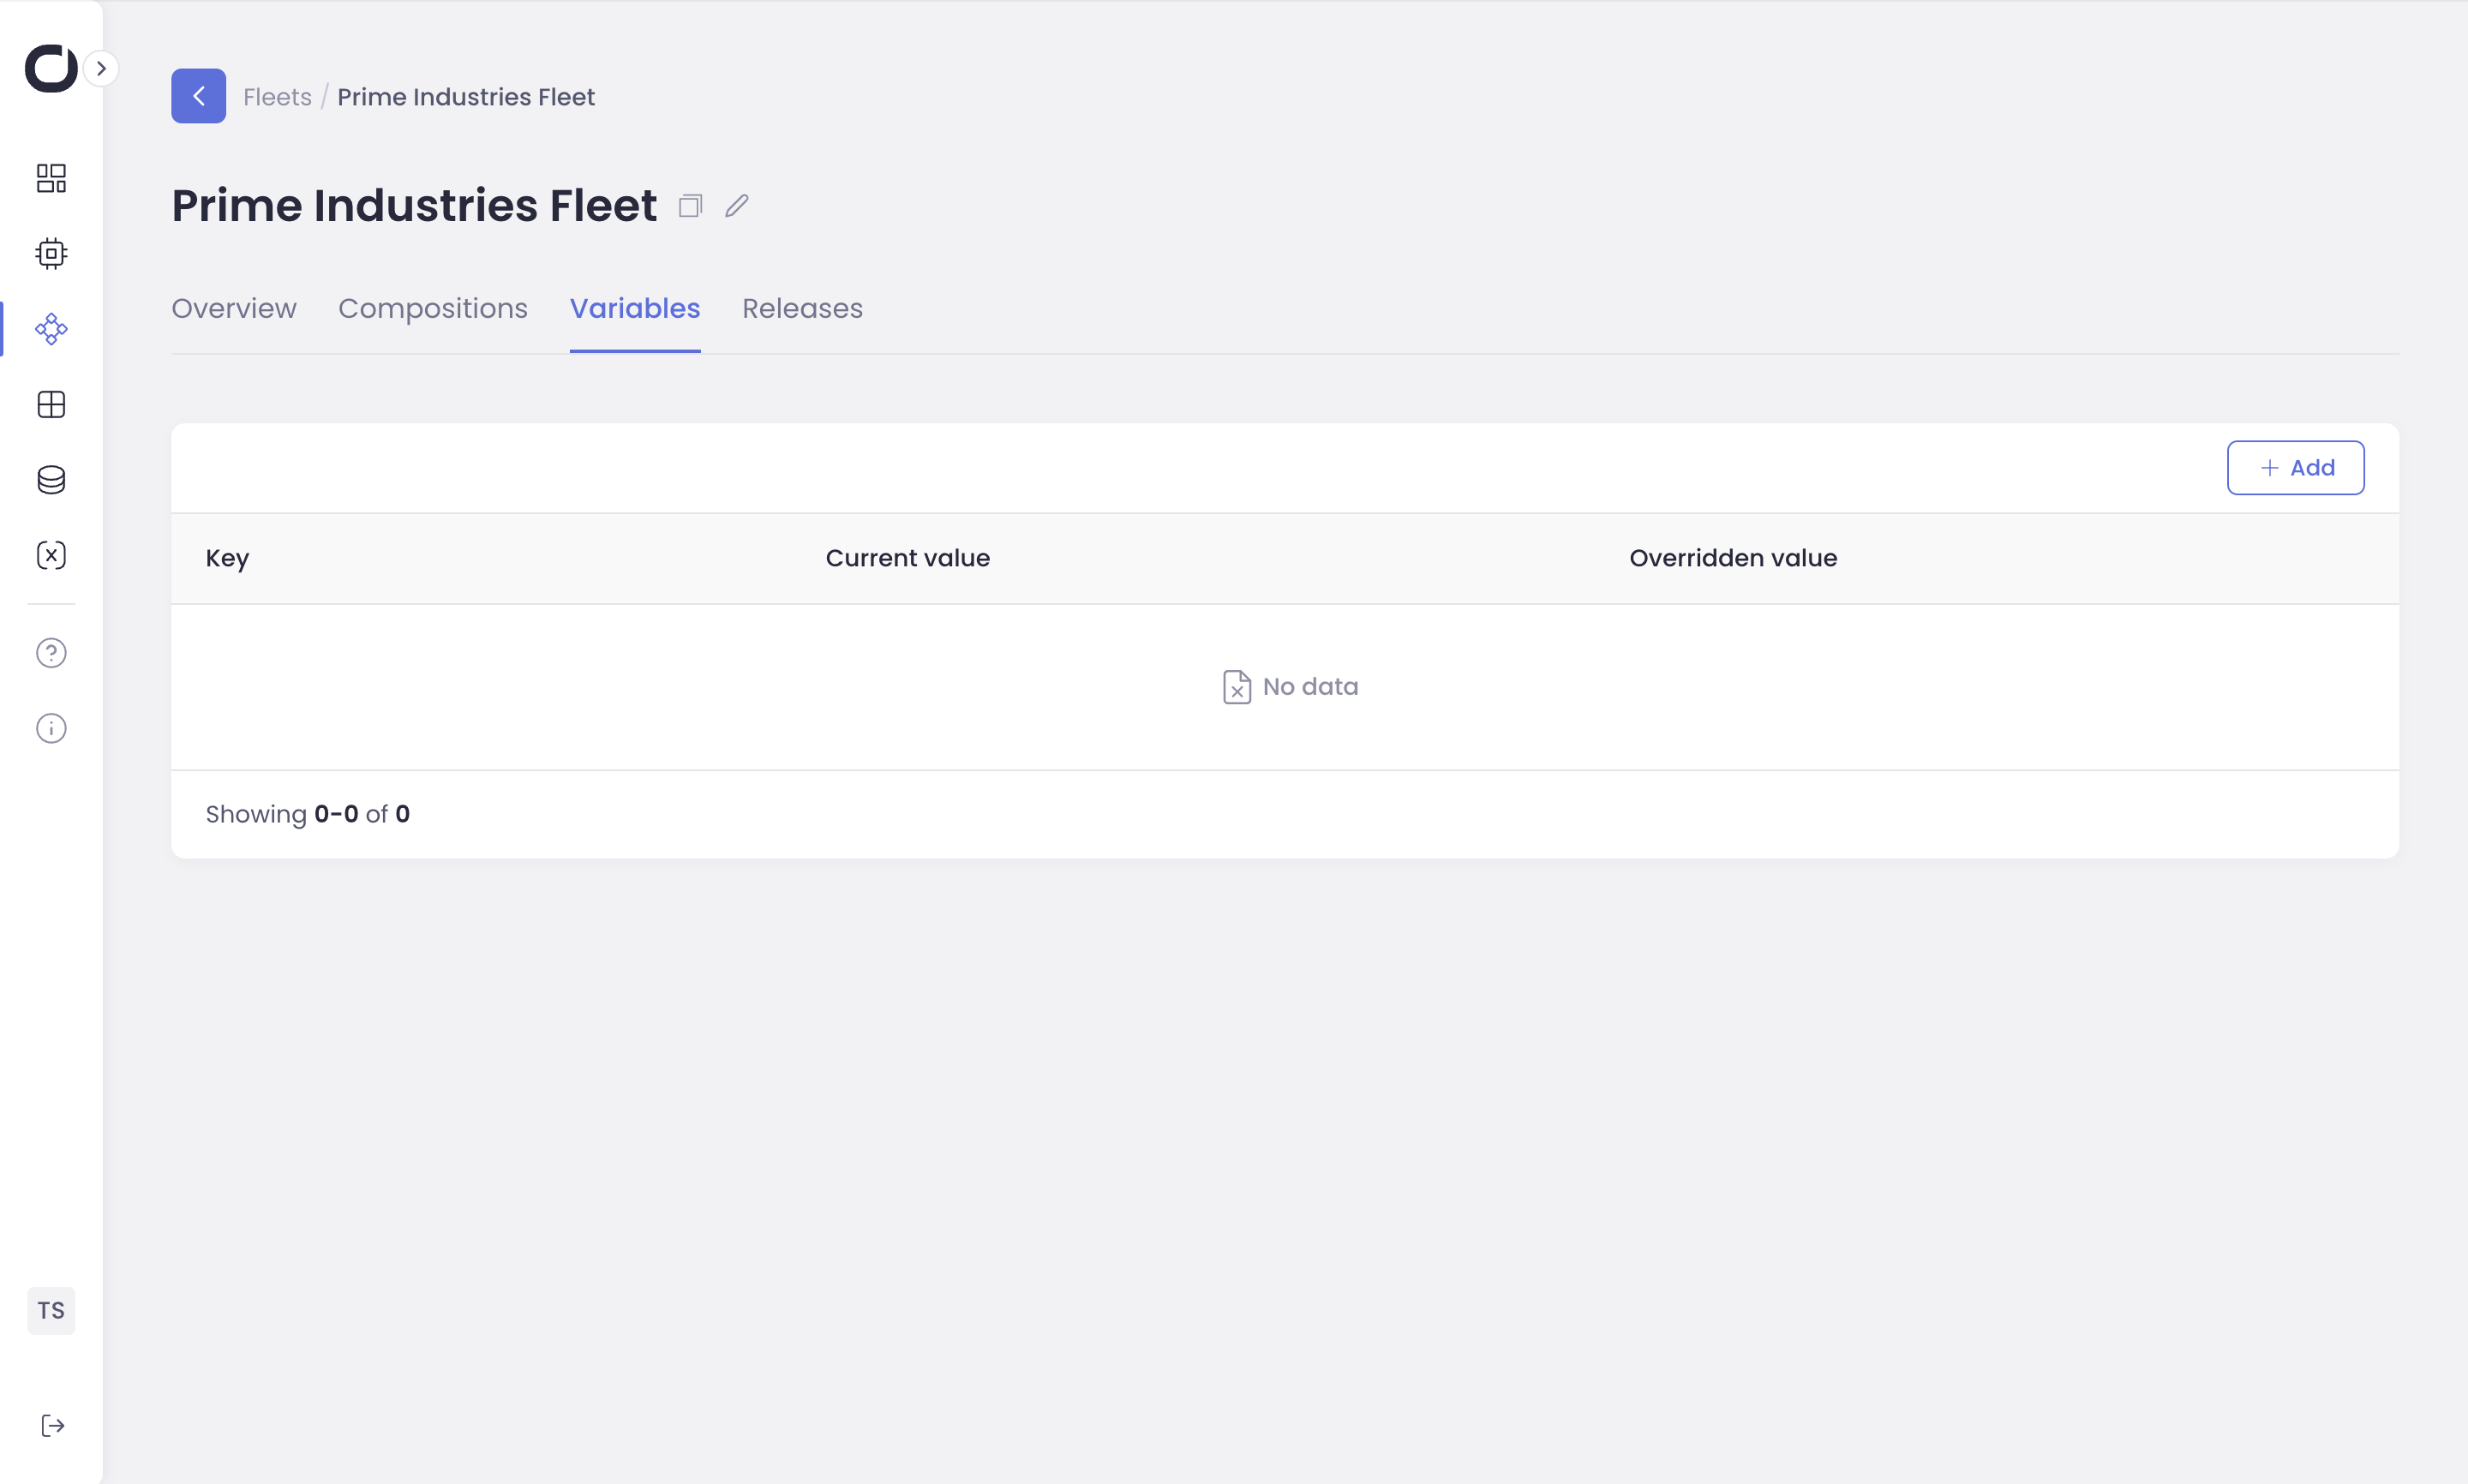
Managing Fleet Variables:
Click on the Variables tab at the top of the fleet details page.
Here, you can define custom variables that will apply to all devices in this fleet.
Note
Initially, this tab might be empty or show inherited global variables.
Creating a Fleet Variable:
Click the Add button in the top right corner.
- Enter the following:
Key: A unique identifier for your variable (e.g., SERVER_PORT).
Value: The value you want to assign to the variable (e.g., 8080).
Description (Optional): A brief explanation of the variable’s purpose.
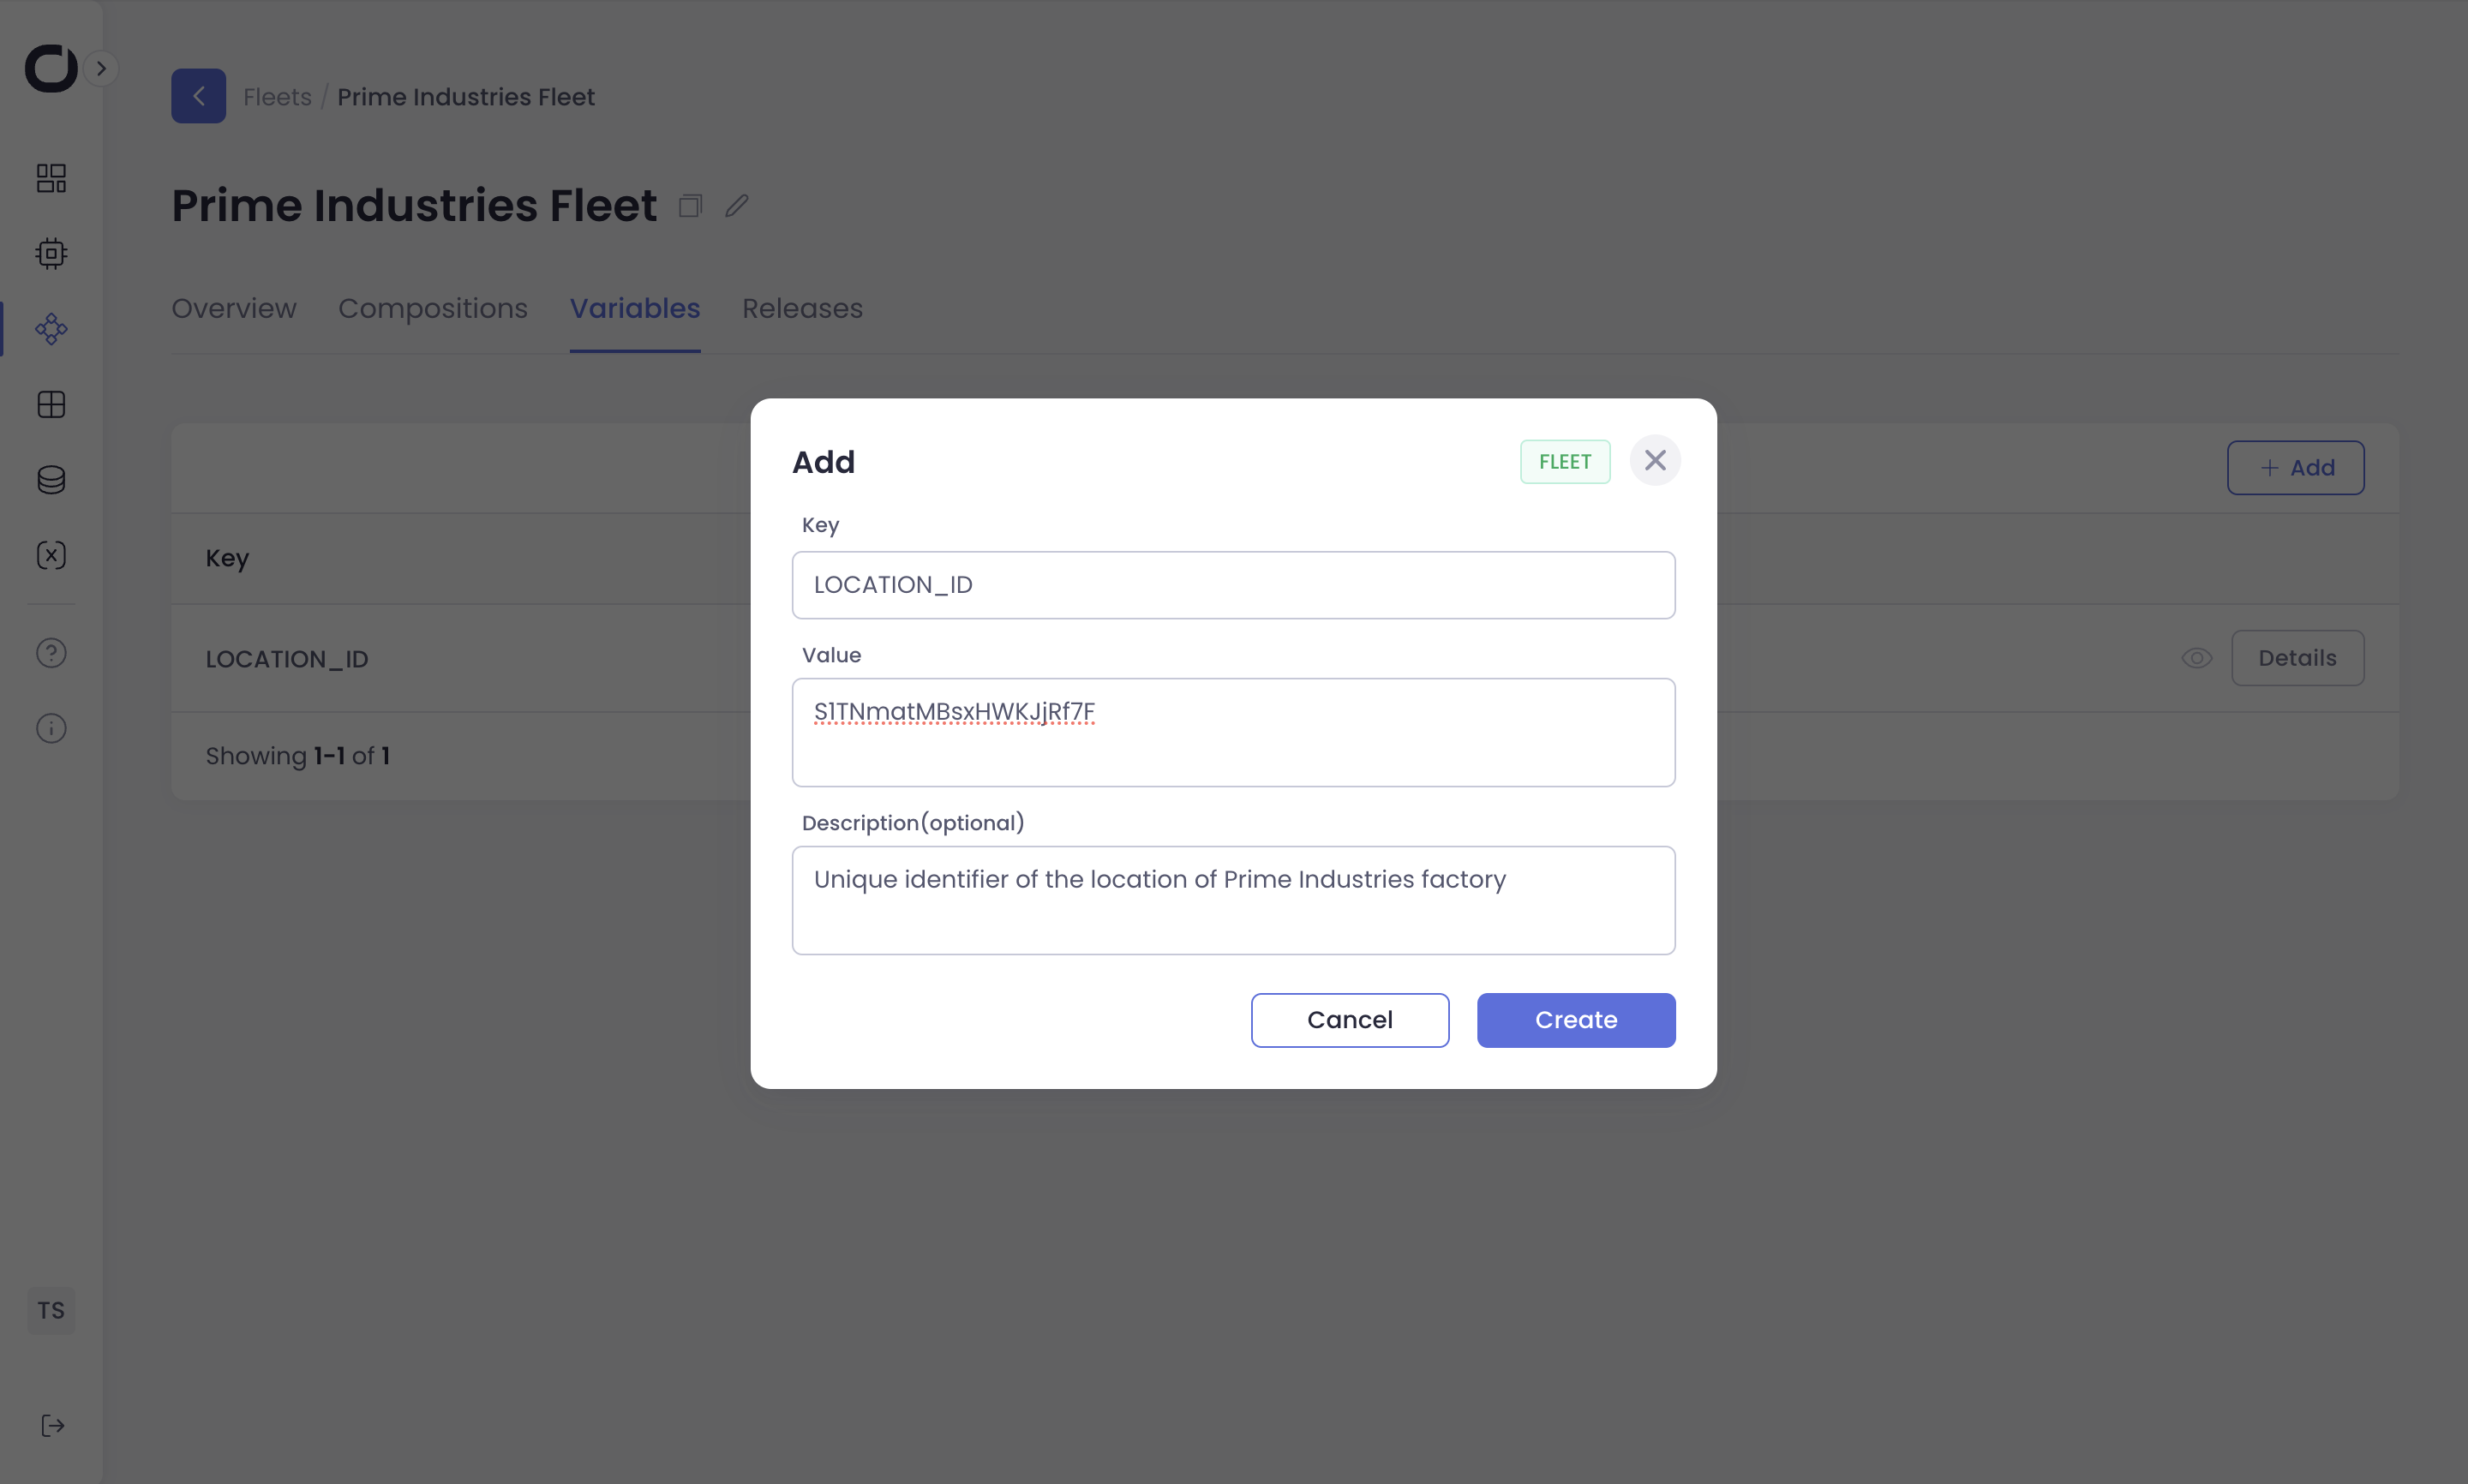
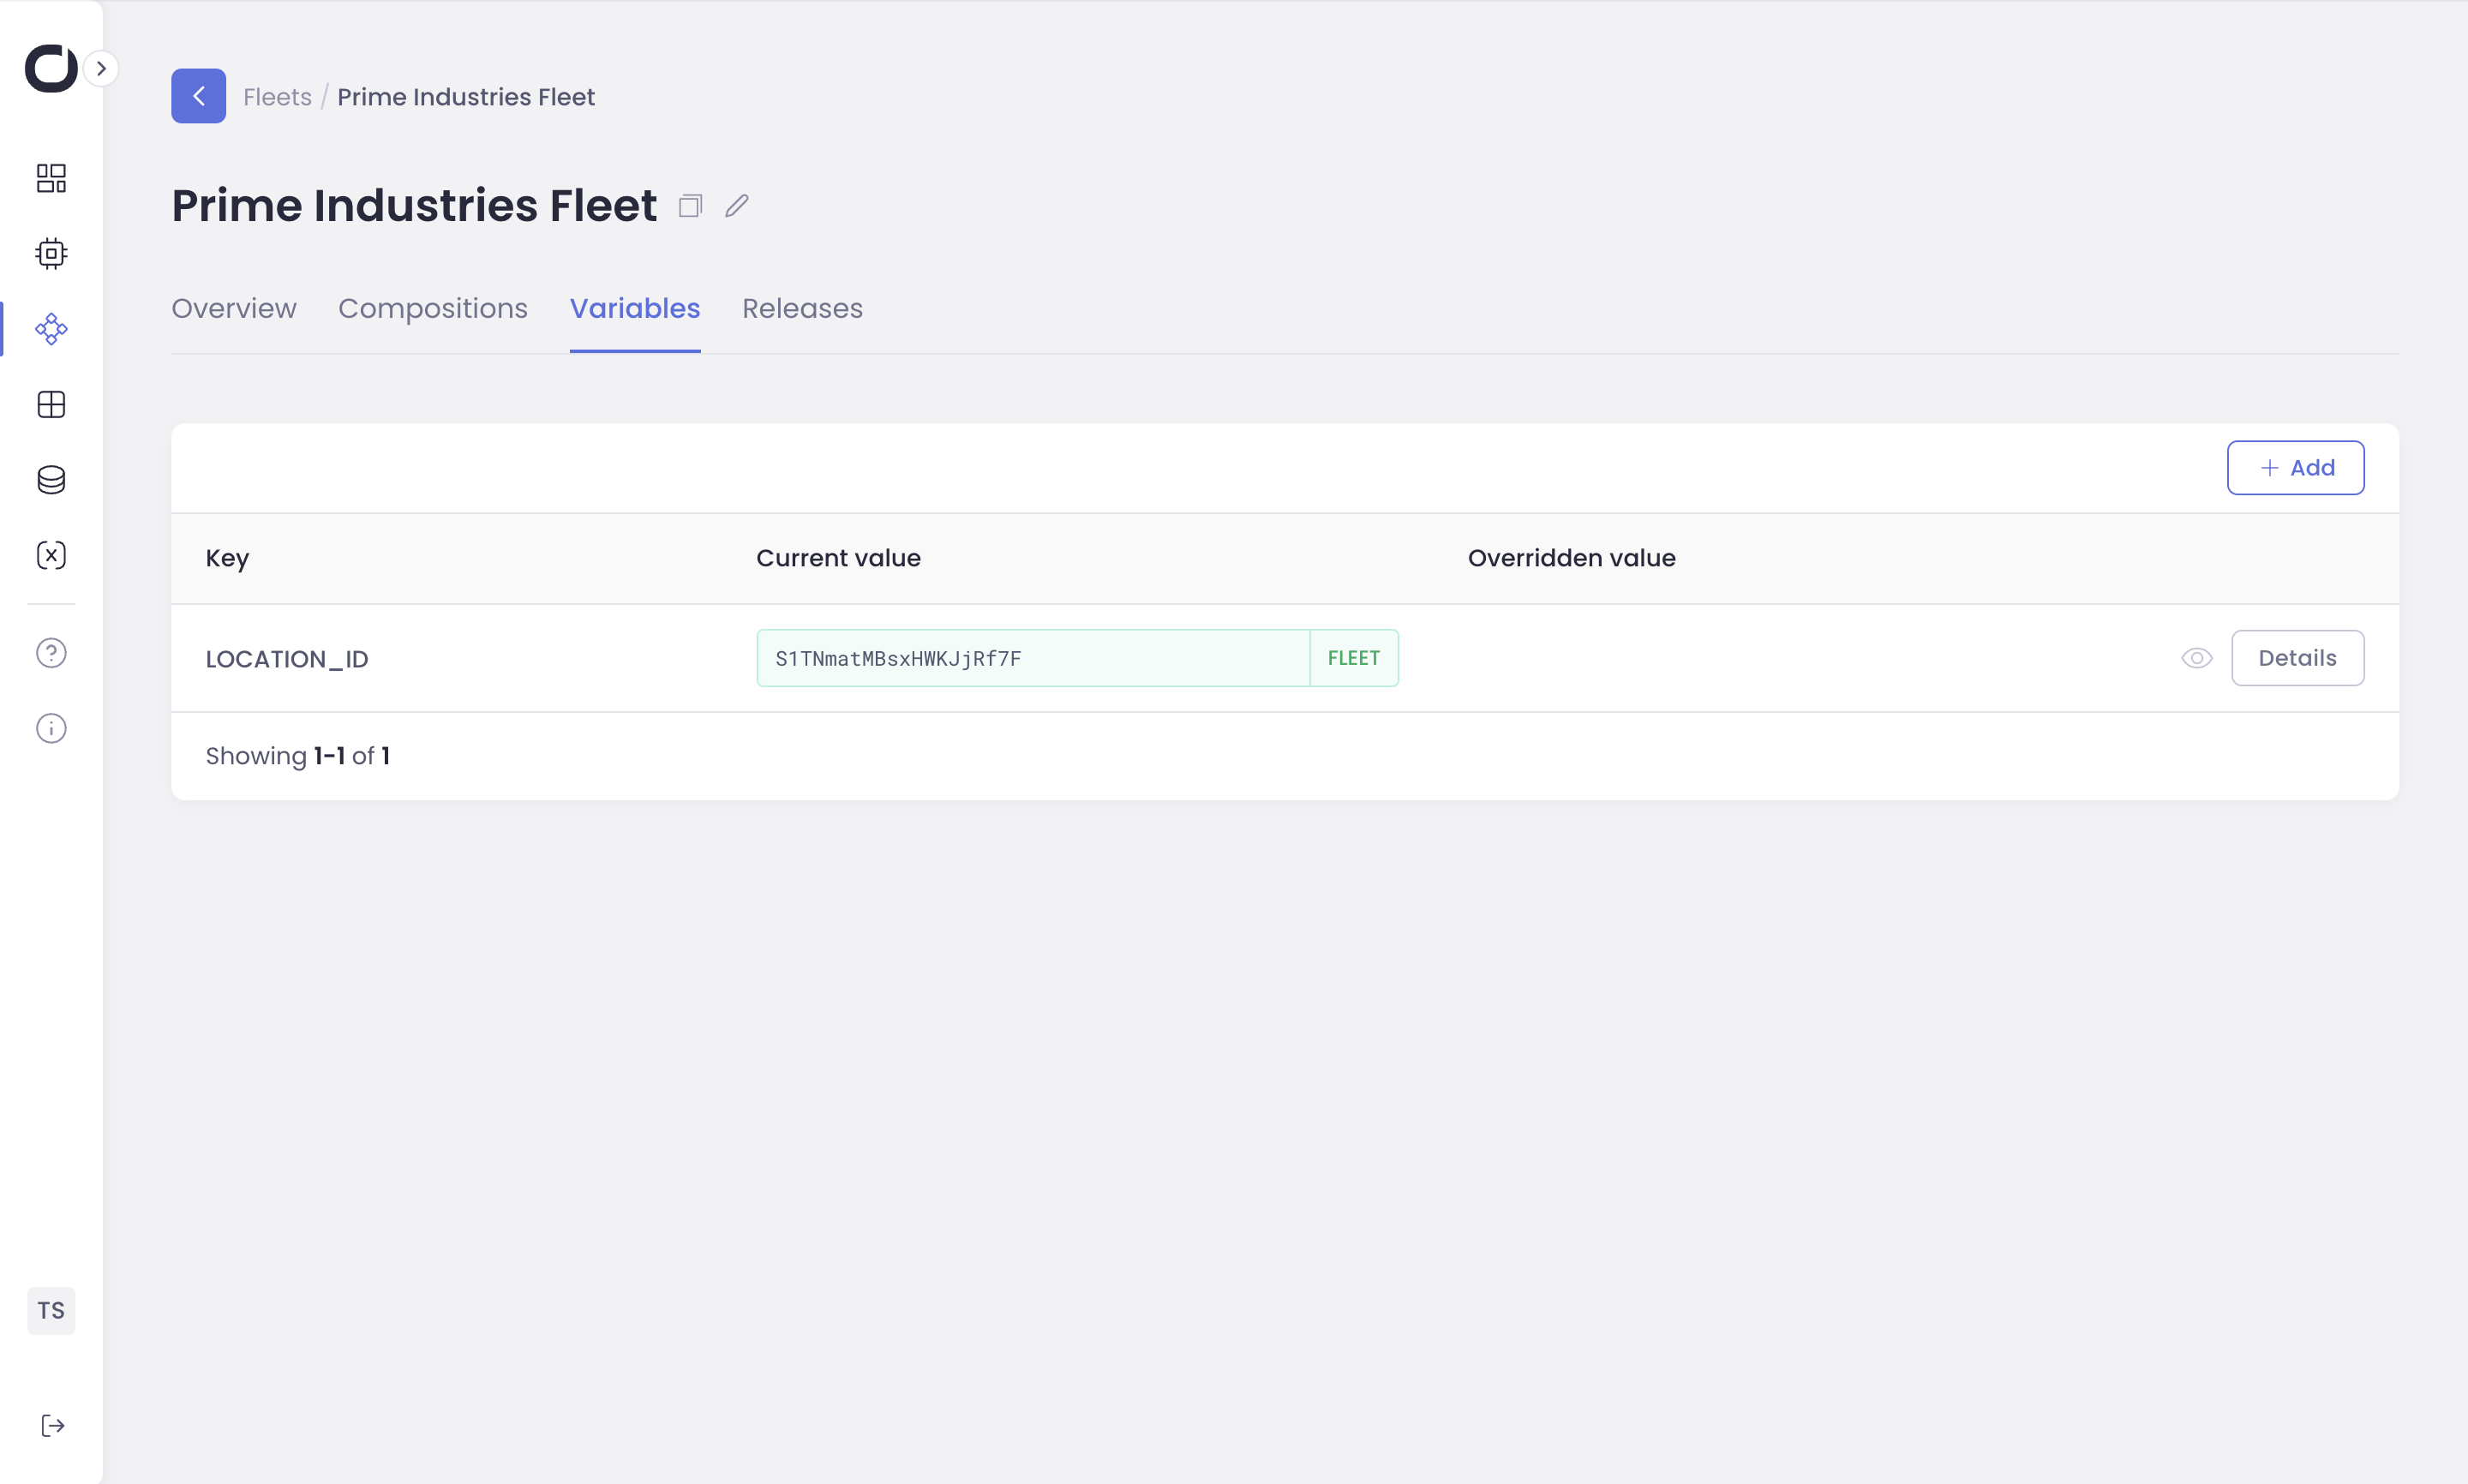
Click Create to save the variable.
Your new variable will now appear in the list of fleet variables:
Next Steps:
Now that you have a fleet, you can Create a Composition (your containerized application) add it to this fleet and deploy to all of devices here!